
Building your own laptop computer can be a rewarding project that allows you to customize your hardware and gain deeper knowledge of how computers operate. This guide will take you through the essential steps to build a laptop computer, from selecting the right components to assembling them into a fully operational laptop.
Components Needed to Build a Laptop
Before you start assembling your laptop, you need to gather all the essential components. Here’s a list of the primary components required to build a laptop:
- Motherboard
- Processor (CPU)
- Memory (RAM)
- Storage (HDD or SSD)
- Graphics Card (GPU)
- Cooling System
- Battery
- Power Adapter
- Chassis (Laptop Case)
- Display Screen
- Keyboard and Touchpad
- Wireless Network Card
- Screws and Tools
Components and Their Descriptions
| Component | Description |
|---|---|
| Motherboard | The main circuit board that holds the CPU, RAM, and other components. |
| Processor (CPU) | The brain of the laptop that processes instructions. |
| Memory (RAM) | Temporary storage for data being used by the CPU. |
| Storage (HDD/SSD) | Permanent storage for files and programs. |
| Graphics Card (GPU) | Handles rendering of images and video. |
| Cooling System | Keeps the CPU and GPU at an optimal temperature. |
| Battery | Provides power to the laptop when it is not plugged in. |
| Power Adapter | Charges the laptop’s battery and powers the laptop when plugged in. |
| Chassis | Enclosure that holds all the components together. |
| Display Screen | The screen that displays video output from the GPU. |
| Keyboard and Touchpad | Input devices for typing and navigation. |
| Wireless Network Card | Enables Wi-Fi connectivity. |
| Screws and Tools | Necessary for assembling the laptop. |
Step-by-Step Guide to Building a Laptop
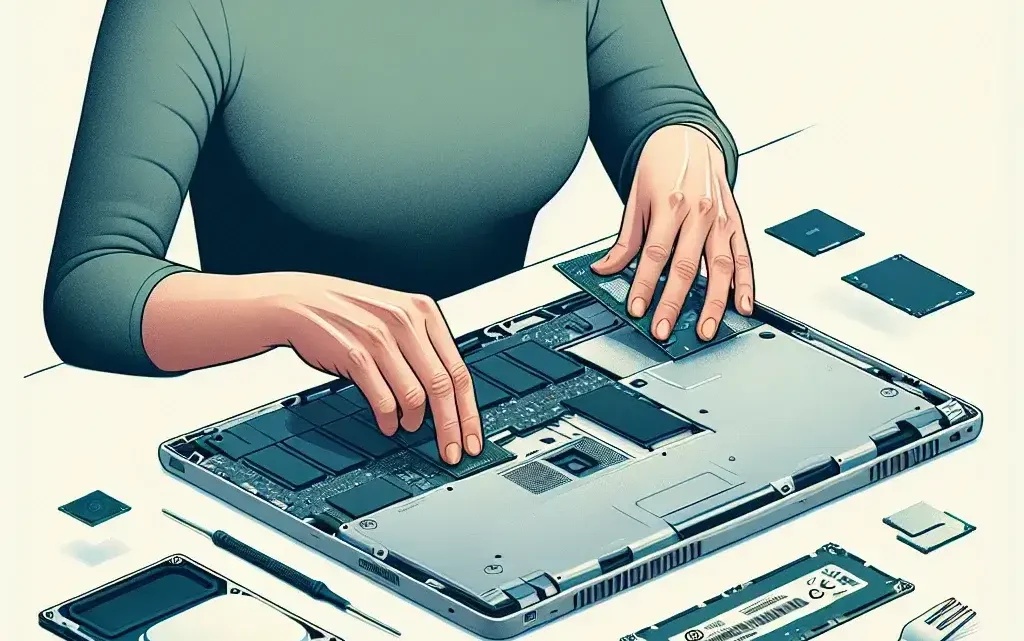
Now that you have gathered all the necessary components, it’s time to start the assembly process.
1. Preparing the Workspace
Ensure that you have a clean and static-free workspace. Use an anti-static wrist strap to avoid static discharge that could damage electronic components.
2. Installing the Processor (CPU)
Carefully place the CPU into the CPU socket on the motherboard. Ensure it is correctly aligned according to the alignment markers. Secure the CPU with the locking mechanism.
3. Installing the RAM
Insert the RAM modules into the memory slots on the motherboard. Press down firmly until the modules click into place.
4. Mounting the Motherboard
Place the motherboard into the chassis and align it with the screw holes. Secure the motherboard using the screws provided.
5. Installing the Storage
Mount the HDD or SSD into its designated slot in the chassis. Connect it to the motherboard using the appropriate cables.
6. Attaching the Cooling System
Install the cooling system over the CPU. Ensure proper contact between the cooling system and the CPU surface to optimize heat dissipation.
7. Installing the Graphics Card (GPU)
If your build includes a dedicated GPU, insert it into the appropriate slot on the motherboard and secure it with screws.
8. Connecting the Battery and Power Adapter
Connect the battery to the motherboard. Also, ensure that the power adapter is connected to allow charging.
9. Assembling the Chassis
Ensure all components are securely fastened inside the chassis. Close the casing and fasten it with screws.
10. Attaching the Display Screen
Mount the display screen to the chassis and connect any required cables to the motherboard.
11. Installing the Keyboard and Touchpad
Attach the keyboard and touchpad to the chassis and connect them to the motherboard.
12. Installing the Wireless Network Card
Install the wireless network card into its designated slot on the motherboard. Connect the antenna if required.
13. Final Checks
Before powering on your laptop, double-check all connections and ensure that all screws are securely fastened. Ensure that there are no loose components.
Powering On and Installing the Operating System
Once the assembly is complete, plug in the power adapter and press the power button. If everything is correctly assembled, the laptop should power on, and you can proceed to install the operating system of your choice.
Tips for a Successful Build
- Read the Manuals: Always refer to the manuals provided with each component to ensure proper assembly and avoid voiding warranties.
- Stay Organized: Keep screws and small components organized to avoid losing them during assembly.
- Static Precautions: Use anti-static measures to protect sensitive components.
- Test Before Final Assembly: Power on the laptop before finalizing the assembly to ensure all components are functioning correctly.
Building a laptop can be a highly satisfying project that gives you full control over the hardware specifications. By following this guide, you will be well on your way to assembling a high-performance, custom laptop tailored to your needs.