
Cleaning the inside of your laptop is crucial for maintaining its performance and extending its lifespan. Dust and debris can accumulate over time, causing overheating and other issues. Regular cleaning of your laptop’s interior can mitigate these risks and ensure smooth operation. Below, we provide a comprehensive guide on how to safely clean inside a laptop computer.
Preparation: Gather Necessary Tools
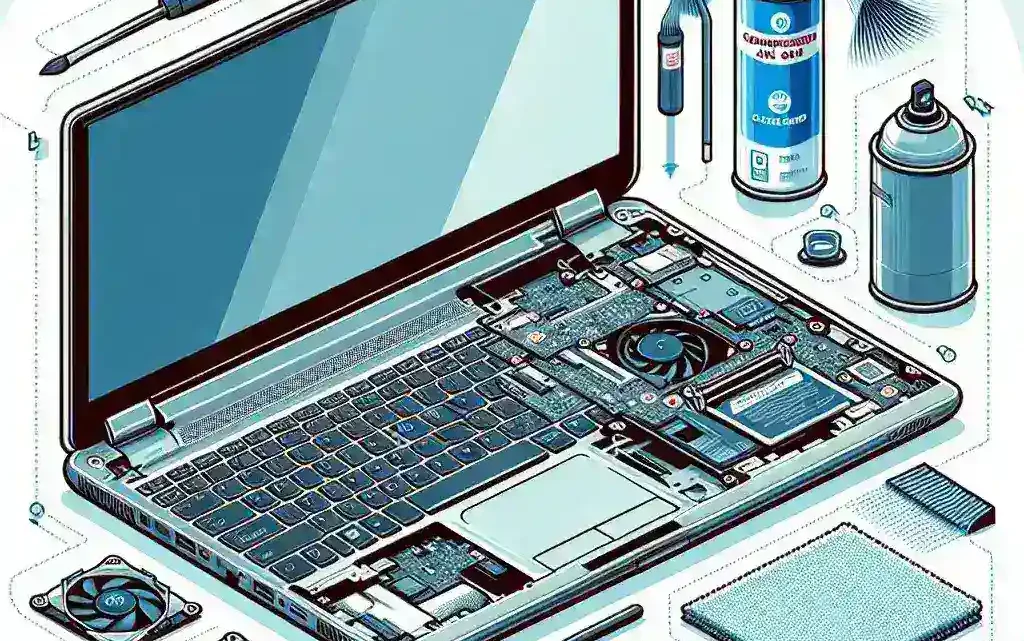
Before you start, make sure you have all the necessary tools and materials:
- Screwdrivers (typically Phillips-head)
- Compressed air canister
- Anti-static wrist strap
- Soft bristle brush
- Microfiber cloth
- Thermal paste (optional, if you plan to reapply it)
Tools and Materials List
| Tools | Materials |
|---|---|
| Screwdrivers | Compressed air canister |
| Anti-static wrist strap | Microfiber cloth |
| Soft bristle brush | Thermal paste |
Step-by-Step Cleaning Process
1. Power Down and Unplug
Before you begin cleaning, ensure that your laptop is fully powered down and unplugged from any power source. It’s also a good idea to remove the battery if possible.
2. Ground Yourself
Wear an anti-static wrist strap to prevent static electricity from damaging sensitive components inside your laptop. Alternatively, you can touch a metal object to discharge any static electricity before handling internal parts.
3. Disassemble the Laptop
Using the appropriate screwdriver, carefully remove screws from the back panel of your laptop. Keep track of all screws and remember or document their original positions for reassembly.
4. Clean the Fans
Fans are commonly clogged with dust and require thorough cleaning. Use a can of compressed air to blow away dust from the fans. Hold the fan blades gently to prevent them from spinning and getting damaged.
5. Remove and Clean the Heat Sink
Unscrew and remove the heat sink. Clean off the old thermal paste using a microfiber cloth or alcohol wipes. Use a soft bristle brush to remove dust from the heat sink fins. If needed, reapply a small amount of thermal paste before reassembling.
6. Clean Other Components
Gently brush off dust from other components such as the motherboard, RAM, and any other accessible hardware using a soft bristle brush and compressed air. Be careful to avoid damaging any fragile parts.
7. Reassemble the Laptop
Once you have cleaned all internal components, reassemble your laptop by screwing the back panel in place. Make sure all parts are securely fitted and that no screws are left behind.
Maintaining a Clean Laptop
To keep your laptop clean and prevent dust buildup:
- Clean the exterior with a microfiber cloth regularly.
- Use your laptop in a dust-free environment.
- Avoid placing your laptop on soft surfaces like beds and couches while in use.
- Consider investing in laptop cooling pads to help with airflow.
Conclusion
Cleaning the inside of a laptop computer is an essential maintenance task that can significantly enhance your device’s performance and longevity. By following the steps outlined above and regularly maintaining your laptop, you can ensure a smooth and efficient operation for years to come.