
In today\’s digital age, having reliable internet connectivity is paramount. If you\’re looking to give your desktop computer wireless capabilities, installing a wireless card is a cost-effective and straightforward solution. This comprehensive guide will walk you through the process of installing a wireless card, ensuring you stay connected without a hitch.
1. What is a Wireless Card?
A wireless card, also known as a Wi-Fi card, is a hardware component that enables a computer to connect to wireless internet networks. These cards come in various formats, such as PCI, PCIe, and USB, each suited to different types of computer setups.
Types of Wireless Cards
| Type | Description |
|---|---|
| PCI | Peripheral Component Interconnect; older standard, less common now |
| PCIe | Peripheral Component Interconnect Express; current standard, faster connection |
| USB | Universal Serial Bus; portable and easy to install |
2. Tools and Materials Needed
Before you start the installation process, gather the following tools and materials:
- Wireless card (compatible with your computer)
- Driver installation disc or downloaded drivers
- Small Phillips screwdriver
- Antistatic wrist strap (optional but recommended)
3. Step-by-Step Installation Guide
Step 1: Power Down and Unplug
First, shut down your computer and unplug it from the power source. This step is crucial to avoid any electrical hazards or damage to your components.
Step 2: Open the Computer Case
Using a Phillips screwdriver, remove the screws securing the side panel of your computer case. Slide or lift off the panel to expose the internal components. Remember to keep the screws in a safe place for reassembly.
Step 3: Locate an Available Slot
Identify an available PCIe slot on your motherboard. If your wireless card is USB, you can skip this step and move directly to Step 5. Ensure the slot is free from any obstructions and ready for installation.
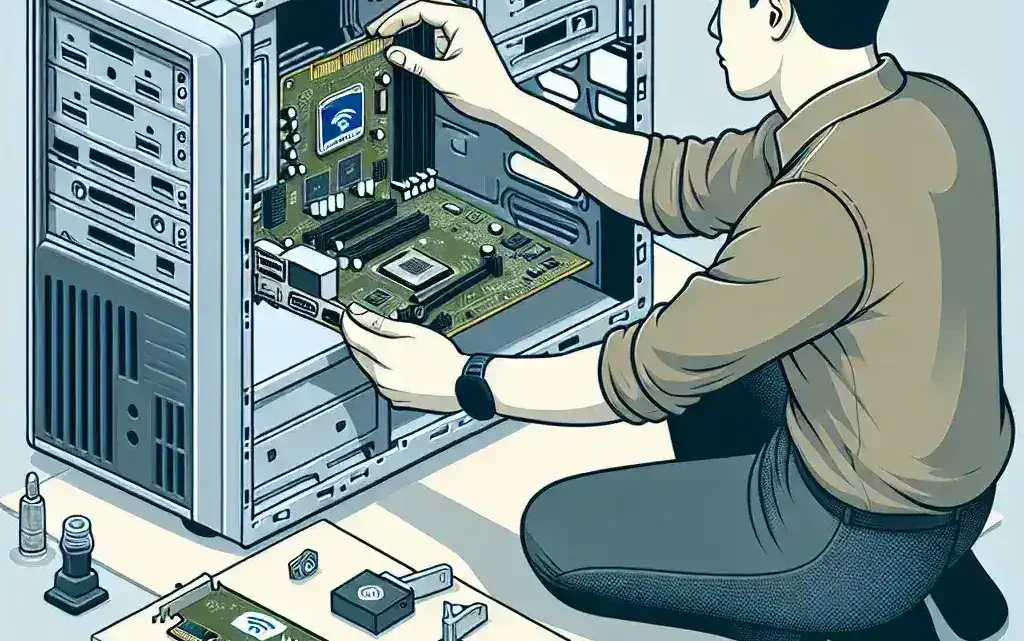
Step 4: Install the Wireless Card
Carefully align the wireless card with the PCIe slot and press it firmly but gently into place. Secure the card with a screw if necessary. Ensure it\’s seated properly to avoid connectivity issues.
Step 5: Connect the Antennas
Many wireless cards come with external antennas that need to be screwed into the card\’s back. Connect these antennas to boost the signal strength and ensure optimal performance.
Step 6: Close the Case
Once the card is securely in place and the antennas are connected, replace the side panel of your computer case and fasten it with the screws you previously removed.
Step 7: Power Up the Computer
Plug your computer back into the power source and turn it on. Allow your operating system to boot up completely.
Step 8: Install the Drivers
Most wireless cards will require drivers to function correctly. Insert the driver installation disc and follow the on-screen instructions, or download the latest drivers from the manufacturer\’s website and install them. Ensure the drivers are up-to-date for optimal performance.
Step 9: Configure the Network
Once the drivers are installed, open your network settings and connect to your preferred wireless network. Enter the network password if prompted.
4. Troubleshooting and Tips
If you encounter any issues, here are some troubleshooting tips:
- Ensure the wireless card is properly seated in the PCIe slot.
- Check if the antennas are firmly connected.
- Verify that the drivers are correctly installed and up-to-date.
- Restart your computer and check the network connections again.
- Consult the user manual or manufacturer\’s support if problems persist.
With these steps, you should be able to install a wireless card in your desktop computer effortlessly. Stay connected and enjoy the freedom of wireless internet.